
In the previous example using an HC-SRO4 ultrasonic sensor – Espruino and an ultrasonic distance sensor, we looked at displaying the distance to an object but just displayed this on the console but with the simple addition of an LCD display of some description we can make a basic ultrasonic tape measure project, in other words we will display the readings on an LCD. In this example I chose an I2C OLED display, these are nice and compact in size and easy to connect and use with our Espruino
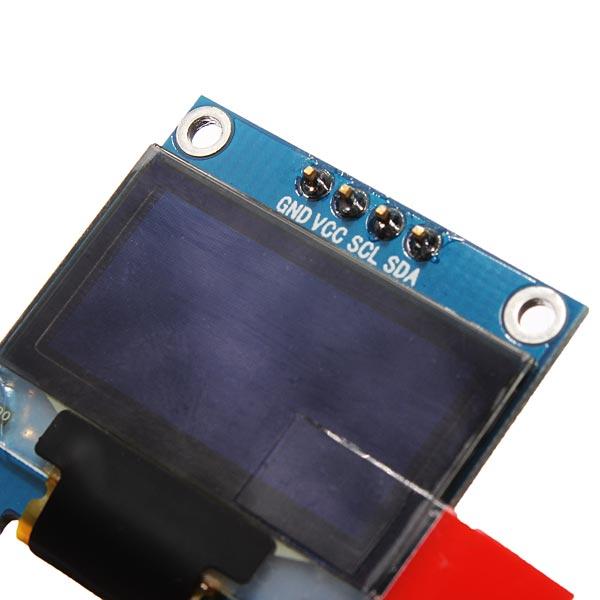
Here is a typical oled display
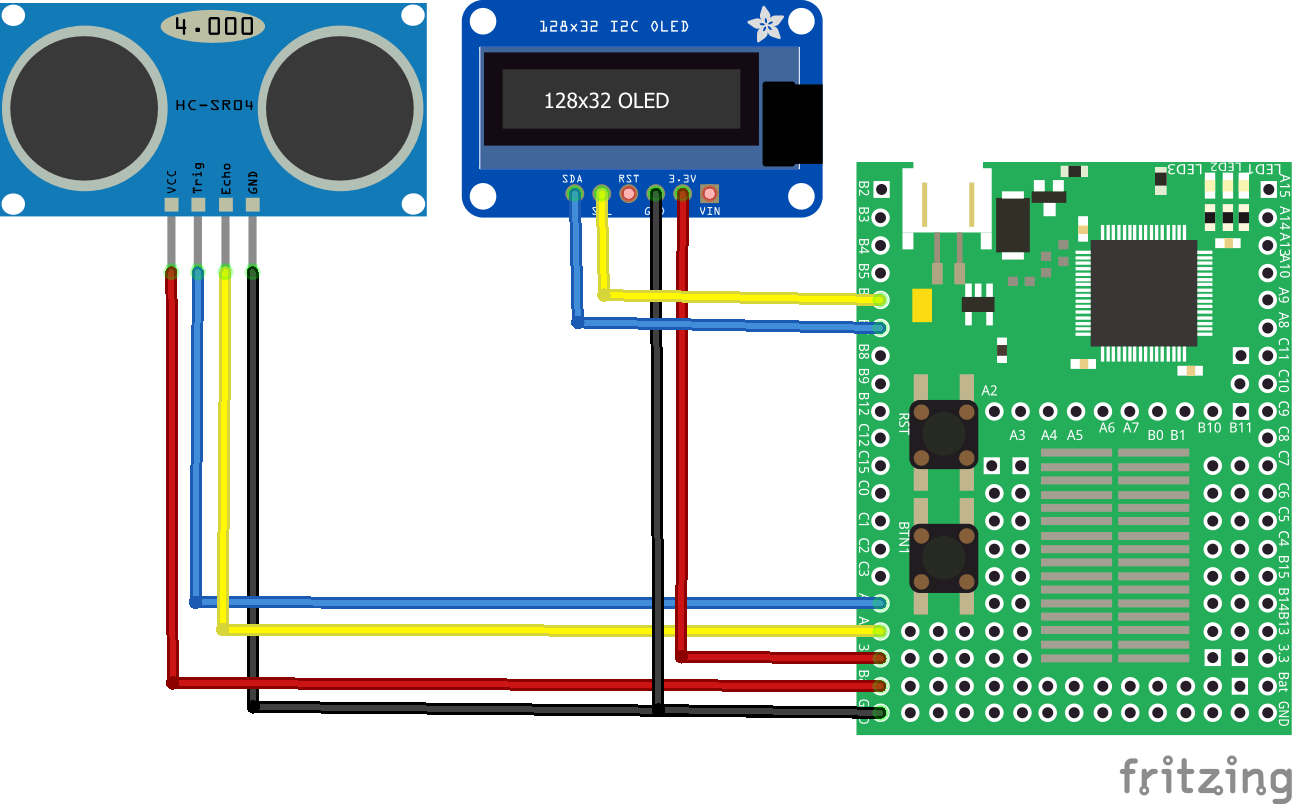
Connections
Wire the OLED up like this
| OLED pin | Espruino Pin | |
|---|---|---|
| GND | GND | |
| 5V | 3.3/vBat | |
| SDA | B7 | |
| SCL | B6 |
For the HC-SR04 you wire it up like this
| HC-SR04 pin | Espruino Pin |
|---|---|
| GND | GND |
| Vcc | VBAT (5v) |
| Trig | A0 |
| Echo | A1 |
Layout
Here is a layout diagram which will hopefully show what you are trying to create
Code
[codesyntax lang=”javascript”]
require("SSD1306");

var TRIG = A0; // ultrasonic trigger
var ECHO = A1; // ultrasonic echo signal
var g = require("SSD1306").connect(I2C1, logger);


// Get the distance from the sensor
setWatch(function(e) { t1=e.time; }, ECHO, { repeat:true, edge:'rising'  });
setWatch(function(e) { var dt=e.time-t1; dist = (dt*1000000)/57.0; },  ECHO, { repeat:true, edge:'falling' });
// 20 times a second, trigger the distance sensor
setInterval("digitalPulse(TRIG,1, 10/1000.0)",50);

function onInit() {
   logger();
}

function logger() {
  // if we detect we're getting too close, turn around
  //console.log(dist+" cm away");
  g.clear();
  dist = Math.round(dist*10)/10;
  g.setFontVector(15);
 // write some text
  g.drawString(dist + " cm away" ,0,0);
 // write to the screen
  g.flip();
}

// I2C
I2C1.setup({scl:B6,sda:B7});
var g = require("SSD1306").connect(I2C1, logger);

setInterval(logger, 1000);
onInit(); // start going forwards
[/codesyntax]
Testing
Pretty simple put an object at a certain distance from the HC-SR04 and check out the readings on the OLED display
